Are you tired of the limited layout of your home? Do you long for an open-concept space that allows for seamless movement between rooms? Building a doorway in a wall can be the solution you’re looking for!
In this blog post, we will guide you through the process of creating a doorway in a wall, from start to finish. Whether you’re new to DIY projects or a seasoned pro, we’ve got you covered.
Planning and Preparation
Before grabbing your tools, it’s essential to plan and prepare for your doorway installation. Here are the key steps to getting started:
Assess the Wall Structure
First and foremost, you need to determine if the wall you wish to modify is load-bearing or not. A load-bearing wall supports the weight of the structure, while a non-load-bearing wall provides only dividing space.
If you’re unsure about the wall’s load-bearing status, it’s best to consult a professional before proceeding.
Choose the Right Location
Selecting the ideal location for your doorway is crucial. Consider the flow of foot traffic and the purpose of the rooms on either side of the wall.
You’ll want to make sure that the doorway enhances the layout and functionality of your home. Take measurements to ensure that there is enough space for the door swing and passage.
Gather the Necessary Tools
To build a doorway, you’ll need the following tools:
- Measuring tape
- Level
- Chalk or pencil
- Stud finder
- Hammer
- Circular saw or reciprocating saw
- Pry bar
- Nails or screws
- Drywall compound
- Sandpaper
- Paintbrush
Step-by-Step Guide
Now that you’re prepared, let’s dive into the process of building a doorway in a wall.
Step 1: Mark the Opening
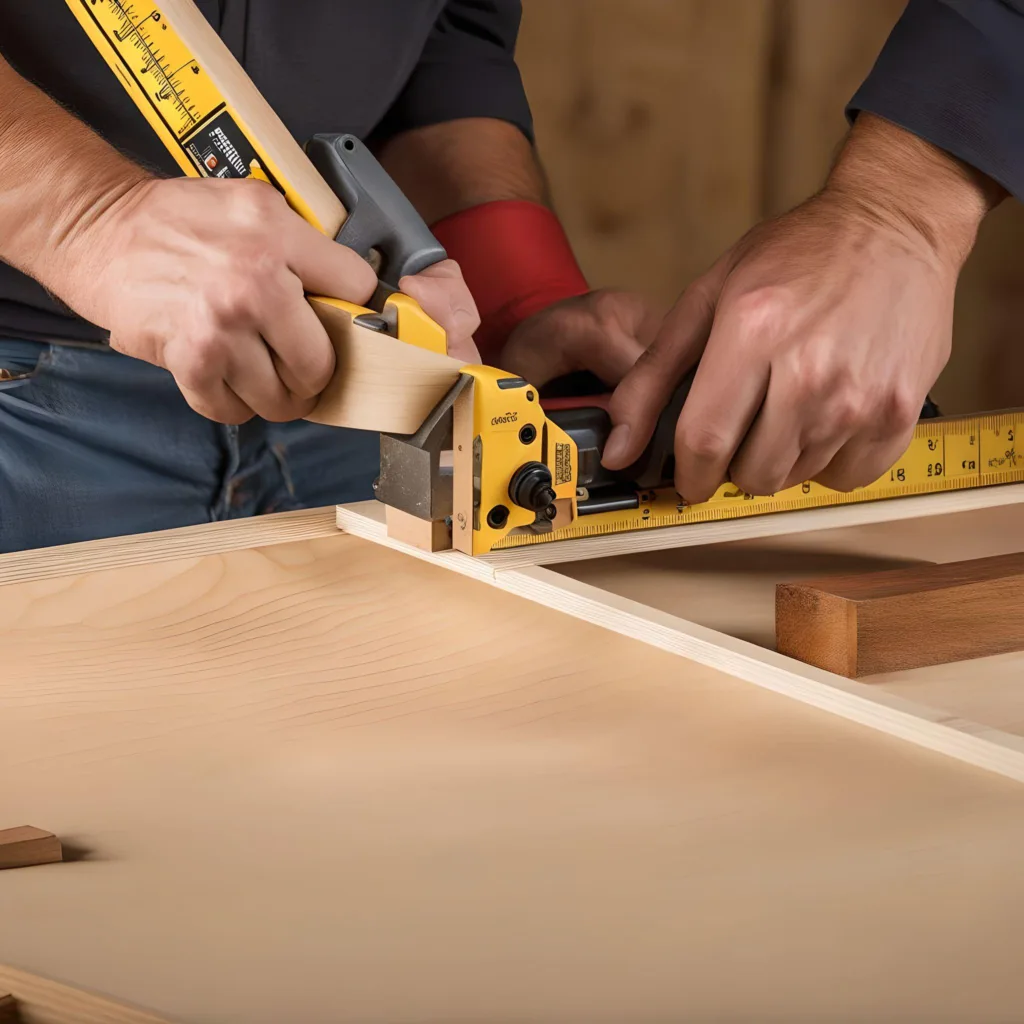
Using a measuring tape and level, mark the dimensions of the new doorway on the wall. Ensure that the top of the opening is level and the sides are plumb. You can use chalk or pencil to make these marks, which can be easily erased later.
Step 2: Locate and Remove Studs
Using a stud finder, locate the position of the wall studs on either side of the marked opening. These studs provide the structural support for the wall.
Carefully remove the drywall between the studs using a circular saw or reciprocating saw. Take caution to only cut through the drywall and not the studs themselves.
Step 3: Install the Header
Now that the drywall is removed, it’s time to install a header above the doorway. The header provides additional structural support and helps distribute the weight evenly.
Measure the width of the doorway and cut a piece of lumber that fits snugly between the studs. Attach the header using nails or screws, ensuring it is level and secure.
Step 4: Frame the Sides
Next, you need to frame the sides of the doorway. Measure and cut two pieces of lumber to fit between the top of the header and the floor.
These pieces, known as jack studs, help support the weight of the header and transfer it to the floor. Attach the jack studs to the header and floor using nails or screws.

Step 5: Install the Door Frame
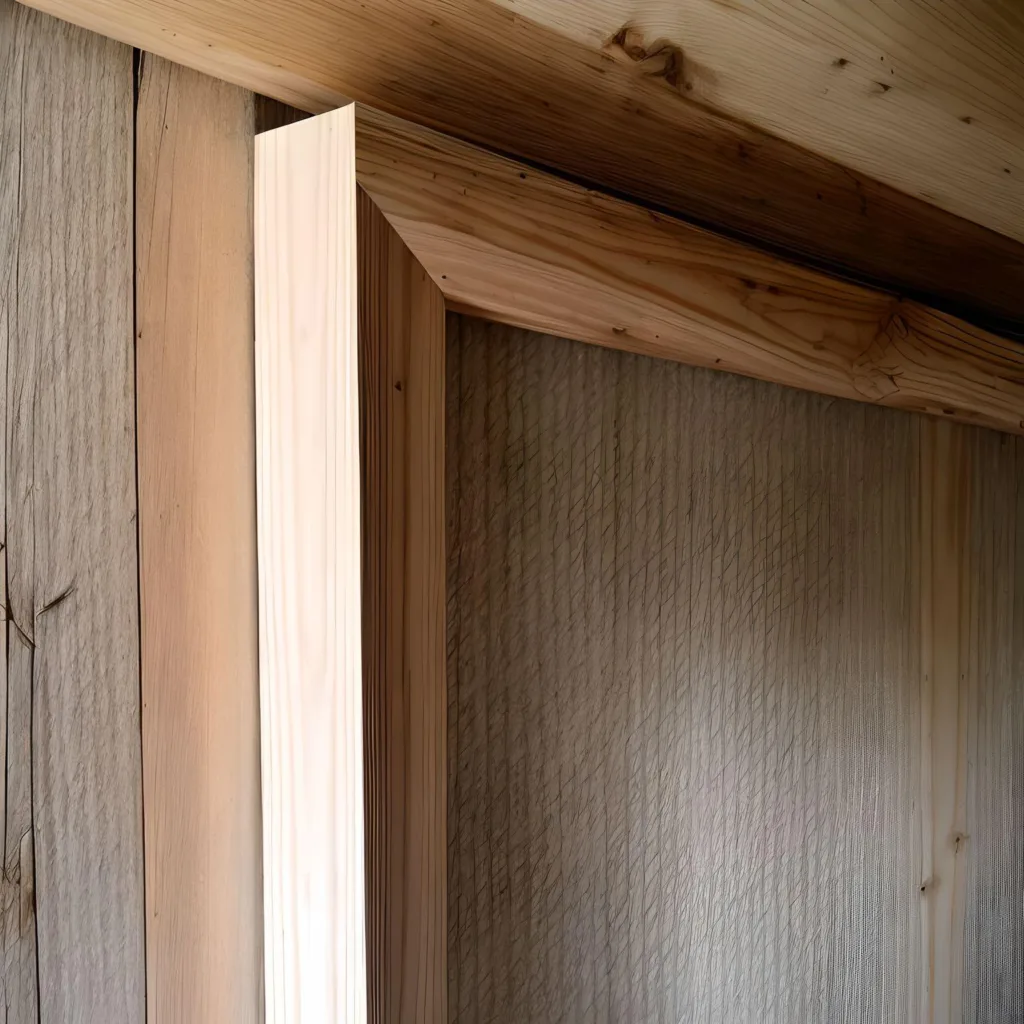
Once the framing is complete, it’s time to install the door frame. Place the frame into the opening and secure it to the jack studs using nails or screws. Check that the frame is level and plumb before proceeding.
Step 6: Replace Drywall and Finish
With the frame in place, it’s time to replace the drywall. Cut a piece of drywall to fit the opening and attach it to the studs using nails or screws.
Apply drywall compound to the seams and joints, smoothing it out with a putty knife. Once dry, sand the compound and apply a second coat, if needed. Finish off by painting the doorway to match the surrounding walls.
How to Build a Stud Wall with a Door
- Materials and Tools: Gather the necessary materials, including 2×4 lumber, a tape measure, carpenter’s pencil, level, framing square, circular saw, nails or screws, hammer or drill, door frame kit, door slab, and door hardware.
- Plan: Determine the wall’s location and mark the door’s placement. Measure and mark the center point for the door frame on the top wall plate.
- Cut the Opening: Use a circular saw to carefully cut the opening for the door frame, ensuring it’s level and plumb.
- Header Installation: Install a horizontal header above the opening for structural support, securing it between adjacent studs.
- King Studs: Position vertical king studs on each side of the opening for support and structural integrity.
- Top Plate and Sole Plate: Add a top plate at the top of the opening and a sole plate at the bottom, securely fastening them to the king studs, header, and wall studs.
- Frame the Door: Assemble and install the door frame kit, ensuring it fits snugly within the framed opening.
- Door Installation: Hang the door slab in the frame, attaching it to the provided hinges. Ensure the door is level and plumb.
- Door Hardware: Attach the doorknob, hinges, and latch to the door according to the manufacturer’s instructions.
- Insulation (Optional): Add insulation between the studs for thermal or sound insulation.
- Wall Covering: Use sheathing material like drywall or plywood to cover the framed wall, finishing with your preferred surface material.
- Finishing: Complete the wall by painting, texturing, or decorating as desired.
Conclusion
By following this step-by-step guide, you can successfully build a doorway in a wall and transform the layout and functionality of your home. Remember to plan and prepare, choose the right location, gather the necessary tools, and carefully complete each step of the process.
If at any point you feel unsure or overwhelmed, consult a professional for assistance. Now, grab your tools and get ready to enjoy a more open and connected living space!
People also ask
How do you fit a door frame into a brick wall?
To fit a door frame to a brick wall, you’ll need masonry anchors and shims. Drill holes into the brick, insert anchors and attach the frame securely. This is common when installing a new door or replacing an existing one.
Can you hang a door in an existing frame?
Yes, you can hang a door in an existing frame if it’s in good condition and fits properly. Ensure the frame is level and plumb, and the new door aligns with the hinges.
How much does it cost to put a door on a brick wall?
Costs vary based on door type, wall thickness, labor, and modifications. Get quotes from contractors for an accurate estimate.
Can you use a garage door as a wall?
Possible, but requires modifications for stability and insulation. Consult a professional for safety.
How do you frame a garage door opening?
Involves creating a structural frame supporting the door, including a header, jambs, and king studs.
How can I enclose my garage without removing the door?
Add a wall or partition behind the door, preserving the option to use it. Ensure it meets building codes.
What is the rough opening of a garage door?
The framed space for the door accommodates the door, tracks, and hardware. Dimensions depend on door size and type. Comply with local building codes and consult professionals for complex projects

