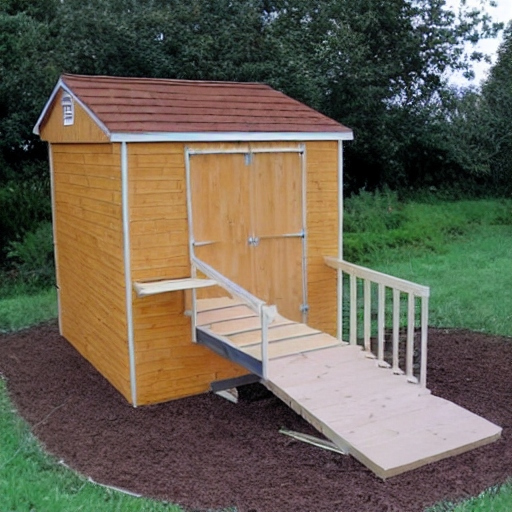
Are you tired of hauling heavy equipment and tools into your shed? Do you want an easier way to roll your lawnmower or wheelbarrow in and out without straining your back? Building a shed ramp is the solution you’ve been looking for.
In this blog post, we will guide you through the process of constructing a shed ramp that is sturdy, functional, and easy to build. Whether you’re a DIY enthusiast or a beginner in carpentry, this step-by-step guide will help you get started.
Materials and Tools:
- 2×6 boards
- 2×4 boards
- Deck screws
- Circular saw
- Measuring tape
- Drill
- Level
- Shovel
- Gravel or crushed stone
- Concrete blocks (if necessary)
Planning and Preparation
Before you dive into the construction process, it’s important to plan and prepare adequately. Here are a few key points to consider:
- Location: Decide where you want to place your ramp and measure the available space. Consider factors such as the slope of the ground, the height of the shed entrance, and any obstructions that may affect the construction.
- Materials: Make a list of materials you will need for the project. Common materials include pressure-treated lumber, galvanized screws, plywood, and concrete.
- Tools: Gather the necessary tools such as a circular saw, tape measure, drill, screwdriver, level, and safety equipment like gloves and goggles.
When it comes to building a shed ramp, selecting the right materials is crucial for creating a sturdy and durable ramp that can withstand heavy loads. Here are some materials you will need:
Shed Ramp Design
- Slope: The ramp should have a slight slope for easy access. The ideal slope is generally around a 1:12 ratio, meaning there should be 12 inches of run for every inch of rise.
- Materials: Use durable and weather-resistant materials like pressure-treated wood. Make sure the ramp is strong enough to bear the weight of heavy equipment.
- Width: Design the ramp wide enough for easy maneuvering. A width of at least 3-4 feet is recommended.
- Surface: Choose a surface material that provides traction to prevent slipping in wet conditions, such as non-slip decking or anti-skid materials.
- Support: Make sure the ramp has proper support and reinforcement to bear the load. Consider adding support beams and braces for stability.
- Installation: Properly tie or secure the ramp to the shed to prevent movement or slipping. Use hardware that is compatible with the shed’s construction.
- Safety Features: Consider adding railing or edge protection to increase safety, especially if the ramp is used frequently.
Shed Ramp Strength
- Material Selection: Use durable, load-bearing materials such as pressure-treated lumber or high-strength composite boards.
- Support: Incorporate adequate support beams and joists to distribute weight evenly and ensure stability.
- Fasteners: Utilize strong, corrosion-resistant screws or bolts to secure the ramp together.
- Weight-Bearing Capacity: Ensure the ramp can support the expected weight by reinforcing critical areas and considering the load it will endure.
- Stability: Implement proper bracing and anchoring methods to secure the ramp to the shed and the ground.
How to make a ramp for a shed
The first step in building a shed ramp is constructing the storage shed. This provides support and stability to the ramp. Here’s how you can do it:
1. Measure and Cut the Stringers
Using a tape measure, determine the length and width of your ramp. The stringers are the diagonal supports that hold the weight of the ramp. Cut three stringers according to the width of the ramp using a circular saw.
2. Attach the Stringers to the Frame
Lay out the stringers on the ground, parallel to each other, and position the frame on top. Ensure that the stringers are evenly spaced. Attach the stringers to the frame using galvanized screws and a drill. Make sure they are firmly secured to provide stability.
3. Add Support Beams
To strengthen the framework, add support beams perpendicular to the stringers. These beams will distribute the weight evenly across the stringers. Attach the support beams using adjustable joist hangers and galvanized screws.
Installing the Ramp Surface
Now that the framework is complete, it’s time to install the ramp surface. This is the part that you’ll walk or roll equipment on, so it needs to be durable and slip-resistant. Follow these steps:
1. Measure and Cut the Plywood
Measure the width and length of the framework to determine the dimensions of the plywood. Cut the plywood accordingly using a circular saw. Ensure that it fits snugly on the frame without any overhang.
2. Secure the Plywood to the Frame
Lay the plywood on top of the framework, aligning it properly. Secure the plywood to the frame using galvanized screws. Make sure to space the screws evenly to prevent any warping or buckling of the plywood.
3. Apply Non-Slip Coating (Optional)
For added safety, you may consider applying a non-slip coating to the ramp surface. This will provide better traction, especially during wet or icy conditions. There are various non-slip coatings available in the market that can be easily applied with a paint roller or brush.
Final Touches and Maintenance
Congratulations! You’ve successfully built your shed ramp. To ensure its longevity and functionality, here are some finishing touches and maintenance tips:
1. Trim Excess Plywood (Optional)
If you prefer a clean and finished look, you can trim the excess plywood around the edges using a circular saw or jigsaw. This step is optional but can enhance the overall appearance of your ramp.
2. Seal and Paint the Ramp (Optional)
To protect the ramp from weather elements and prolong its lifespan, you may consider sealing and painting the surface. Choose a waterproof sealant or paint specifically designed for outdoor use. Apply multiple coats for maximum durability.
3. Regularly Inspect and Maintain
Inspect the ramp periodically for any signs of damage or wear. Replace any loose screws or damaged plywood promptly. Keep the ramp clean by removing debris and leaves regularly. This will prevent accidents and maintain a safe and functional ramp.
How Much Does a Shed Ramp Cost?
The cost of a shed ramp can vary depending on several factors, including the materials used, the size and dimensions of the ramp, and whether you are building it yourself or purchasing a pre-built ramp.
Here’s a rough estimate:
- DIY: If you choose the do-it-yourself approach, the cost can range from $50 to $300 when factoring in the expenses for lumber, fasteners, and other necessary tools.
- Prefabricated Ramps: Prefabricated shed ramps can cost anywhere from $100 to $500 or more, depending on the design, materials, and load-bearing capacity.
It is important to consider the quality of the materials and the intended use of the ramp to ensure that it can support the weight of the items you plan to carry in and out of the shed. If you are purchasing a pre-built ramp, the cost will generally be higher but may save you time and effort.
5 Types of Shed Ramps
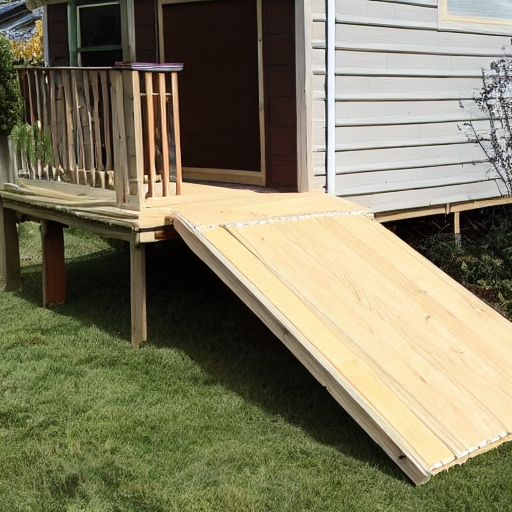
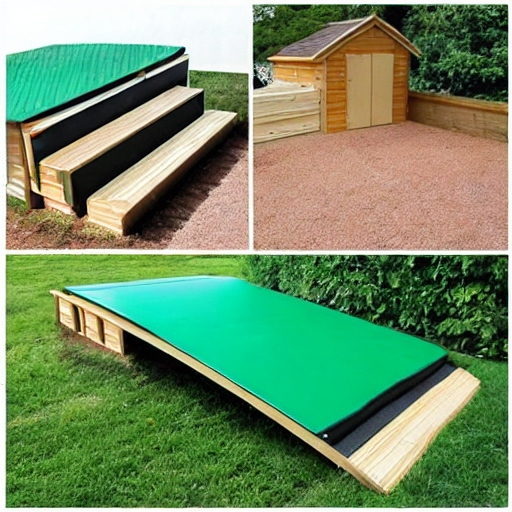
- Wooden Ramps: These ramps are usually made using pressure-treated wood. They are sturdy and can be easily customized to fit the required length and width.
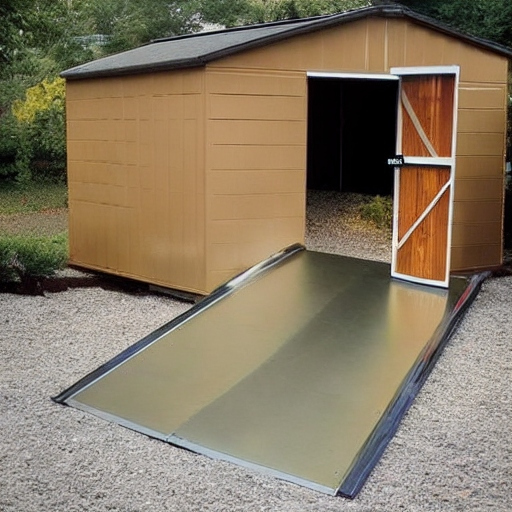
- Metal Ramps: Typically made of aluminum or steel, metal ramps are durable and long-lasting. They are light in weight and resistant to weather and rust.
- Composite Ramps: Made from a blend of materials such as wood fiber and plastic, these ramps are durable and low-maintenance, as they resist rot and moisture damage.
- Rubber ramps: Usually portable and easy to install, these are ideal for temporary or occasional use. They are made of strong rubber and offer good traction.
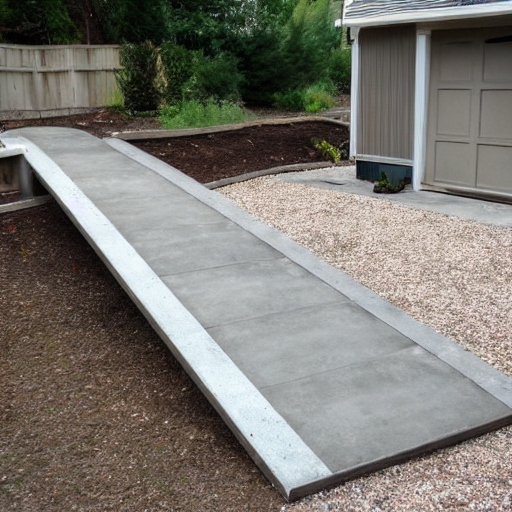
- Concrete Ramps: Built using concrete, these ramps provide exceptional durability. They are a permanent option, providing a solid and stable walkway into the shed.
Safety
Shed ramp safety is vital to preventing accidents and injuries. Factors to consider to ensure a safe shed ramp include its design, construction materials, surface texture, slope, width, and the way it is secured to the shed or the ground.
A properly designed and constructed shed ramp reduces the risk of slips, trips, and falls when loading and unloading items in and out of the shed.
It is essential to provide good traction on the ramp surface, ensure adequate support and anchoring, and maintain a manageable inclination to enable safe and easy movement of both people and equipment.
To maintain its safety and functionality, regular maintenance, checking for damage, and keeping the ramp clean is necessary.
Maintenance Schedule
- Regular Inspection:
- Routinely check the ramp for any signs of wear, damage, or loose parts. Look for rot, cracks, or instability in the ramp structure.
- Cleaning:
- Keep the ramp clean by removing debris, leaves, or other items that can accumulate on the surface. Regularly sweep it to prevent moisture buildup.
- Weather Protection:
- Apply a weather-resistant coating or paint to protect the wood from moisture, UV rays, and other weather conditions. This helps prevent rot or decay.
- Replace Damaged Parts:
- Repair or replace damaged or rotted boards promptly. Look for any loose screws or nails and ensure they are properly secured.
- Support Checks:
- Verify the ramp’s support beams and joists for any signs of decay or weakening. Reinforce or replace parts if necessary.
- Secure the Ramp:
- Ensure the ramp is securely attached to the shed entrance to avoid movement or instability. Check for any loose or missing fasteners.
- Test Weight Capacity:
- Periodically check the weight-bearing capacity of the ramp. Ensure it can support the necessary weight without bowing or flexing.
- Preventative Measures:
- Install gutters or drainage systems to redirect water away from the shed and ramp. This helps prevent moisture accumulation.
- Regular Maintenance Schedule:
- Establish a maintenance schedule to inspect and repair the shed ramp at regular intervals, depending on your local weather conditions.
Conclusion
Building a shed ramp doesn’t have to be an intimidating task. With proper planning, the right materials, and a step-by-step approach, you can create a sturdy ramp that makes accessing your shed a breeze. Remember to measure accurately, use quality materials, and follow safety precautions throughout the construction process.
Now that you know how to build a shed ramp, you can tackle the project confidently. Get ready to enjoy the convenience of easily rolling in and out your heavy equipment, eliminating the struggle and strain. Start planning your shed ramp construction today and reclaim the joy of effortless shed access!
People also ask
- How to build a ramp for a shed entrance:
- Construct a ramp using lumber and materials, ensuring proper support, stability, and safe incline.
- The proper slope for a shed ramp:
- The recommended slope is typically around 3:12, meaning the ramp should rise 3 inches for every 12 inches horizontally.
- Making an easy ramp:
- Simplify the construction by using prefab shed ramp kits, or build a straightforward wooden ramp with an appropriate slope for accessibility.
- What is a shed ramp:
- A shed ramp is an inclined surface that facilitates easy movement of equipment, tools, or objects in and out of a shed.
- Shed ramp kit:
- Shed ramp kits often include pre-cut lumber, hardware, and guidelines to assemble a sturdy and safe ramp.

