So you want to tackle a concrete project but are not sure where to start? (How to Pour a Concrete Slab) Pouring a concrete slab might seem a bit overwhelming, but with the right guidance and some know-how, you can get it done. In this detailed guide, we’ll take you through the step-by-step process of pouring a concrete slab, from preparing the area to adding those finishing touches. Let’s get started!
Planning and Preparation
Before you start pouring concrete, proper planning and preparation are key to ensuring a successful outcome. Here are the essential steps to take before you begin pouring:
1. Determine the Project Scope
The first step is to determine the size and shape of the concrete slab you want to pour. Measure the area carefully and mark out the boundaries using stakes and string lines. Consider factors such as thickness, slope, and any special requirements for the project.
2. Gather the Necessary Materials and Tools
Ensure you have all the materials and tools you need for the project, such as concrete mix, reinforcing mesh or rebar, wheelbarrow, shovel, bull float, edger, and trowel. Having everything on hand will save you time and prevent interruptions during the pouring process.
3. Prepare the Site
Clear the area of any debris, rocks, or vegetation. Excavate the soil to the desired depth, taking into account the thickness of the slab and any required slope for drainage. Compact the soil and lay a base of gravel or sand for stability.
4. Install Forms and Reinforcement
Construct forms using wooden boards or metal stakes to contain the concrete. Install reinforcement, such as wire mesh or rebar, to add strength to the slab and prevent cracking. Make sure the forms are level and securely in place.
Mixing and Pouring Concrete
With the site prepared, it’s time to mix the concrete and pour the slab. Follow these steps for a smooth and successful pouring process:
1. Mix the Concrete
Follow the instructions on the concrete mix to create a uniform and workable mixture. Consider factors such as weather conditions, as temperature and humidity can affect the setting time of the concrete. Use a wheelbarrow or concrete mixer to mix the concrete thoroughly.
2. Pour the Concrete
Start by pouring the concrete into the forms in a systematic manner. Work from one end to the other, ensuring an even distribution of the mixture. Use a shovel or rake to spread the concrete evenly, filling the forms to the desired height. Avoid overworking the concrete to prevent air pockets or segregation.
3. Consolidate and Level the Concrete
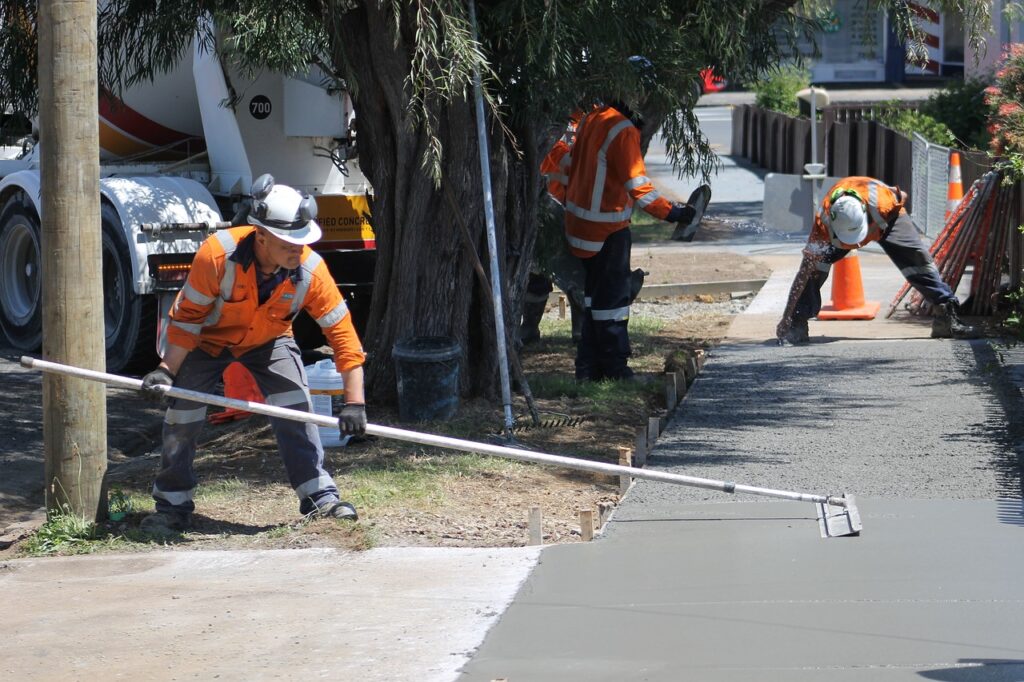
Once the concrete is poured, use a bull float to consolidate the mixture and remove any excess water on the surface. Screed the concrete with a straight board to level the slab and create a smooth finish. Check for any low or high spots and adjust as needed.
4. Finish the Surface
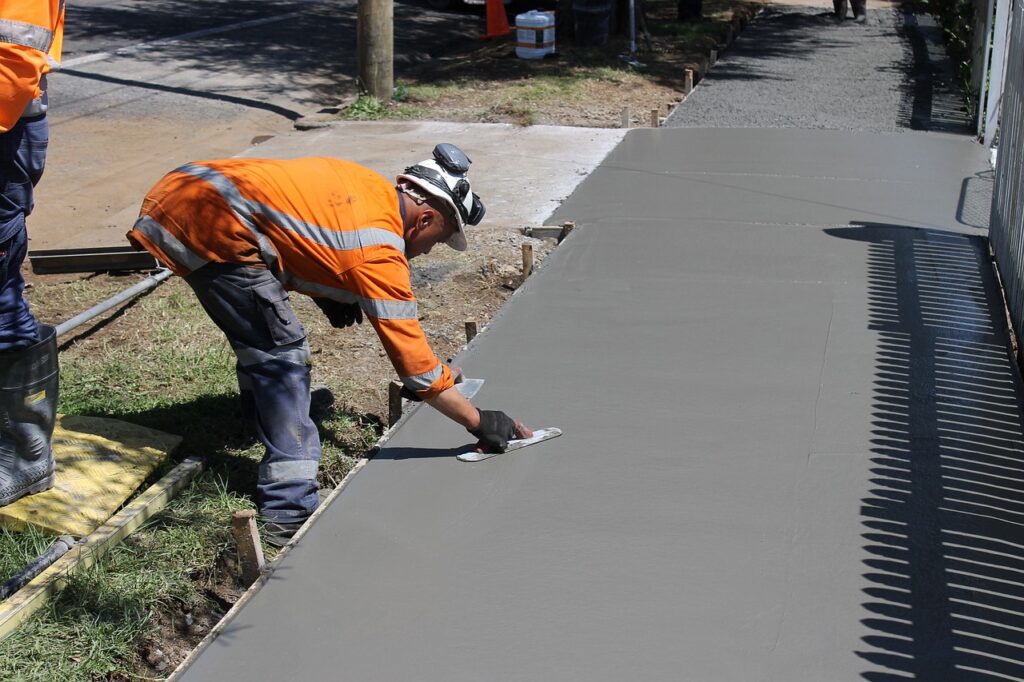
After screeding, use an edger to round the edges of the slab for a clean look. Smooth the surface with a trowel, working in circular motions to eliminate any imperfections. Consider adding a broom finish or other decorative touches to enhance the appearance of the slab.

Curing and Maintenance
Curing is a critical step in the concrete pouring process to ensure the slab achieves its full strength and durability. Follow these guidelines for proper curing and maintenance:
1. Cover and Protect the Concrete
After finishing the surface, cover the slab with plastic sheeting or wet curing blankets to retain moisture and prevent rapid drying. This will promote proper hydration and strength development in the concrete. Keep the slab moist for at least seven days to achieve optimal curing.
2. Prevent Cracking
To prevent cracking, avoid rapid temperature changes, excessive drying, or heavy loads on the slab during the curing process. Consider applying a curing compound or sealer to protect the surface and enhance durability. Perform regular maintenance, such as cleaning and sealing, to prolong the life of the concrete slab.
Conclusion
Pouring a concrete slab requires careful planning, precise execution, and proper maintenance to ensure a high-quality result. By following the step-by-step process outlined in this guide, you can successfully pour a concrete slab that is strong, durable, and visually appealing. Remember to take your time, pay attention to detail, and seek professional guidance. With the right approach and some elbow grease, you can transform your concrete project into a long-lasting and functional structure. Happy pouring!
FAQs
Can I Pour a Concrete Slab Myself?
Yes, you can pour a concrete slab yourself with the right tools, materials, and preparation.
What Are the Steps to Pouring a Concrete Slab?
- Prepare the Site: Clear and level the ground.
- Build the Form: Construct a form using wooden boards to outline the slab area.
- Add Gravel Base: Spread and compact a layer of gravel for drainage.
- Install Rebar: Place rebar or wire mesh for reinforcement.
- Mix and Pour Concrete: Mix concrete and pour it into the form, spreading it evenly.
- Level and Smooth: Use a screed to level and a trowel to smooth the surface.
- Cure the Concrete: Allow the slab to cure for several days, keeping it moist.
How Much Does a 12×12 Concrete Slab Cost?
- Area: 144 square feet.
- Cost Range: $864 to $2,160, based on $6 to $15 per square foot including materials and labor.
4o

