

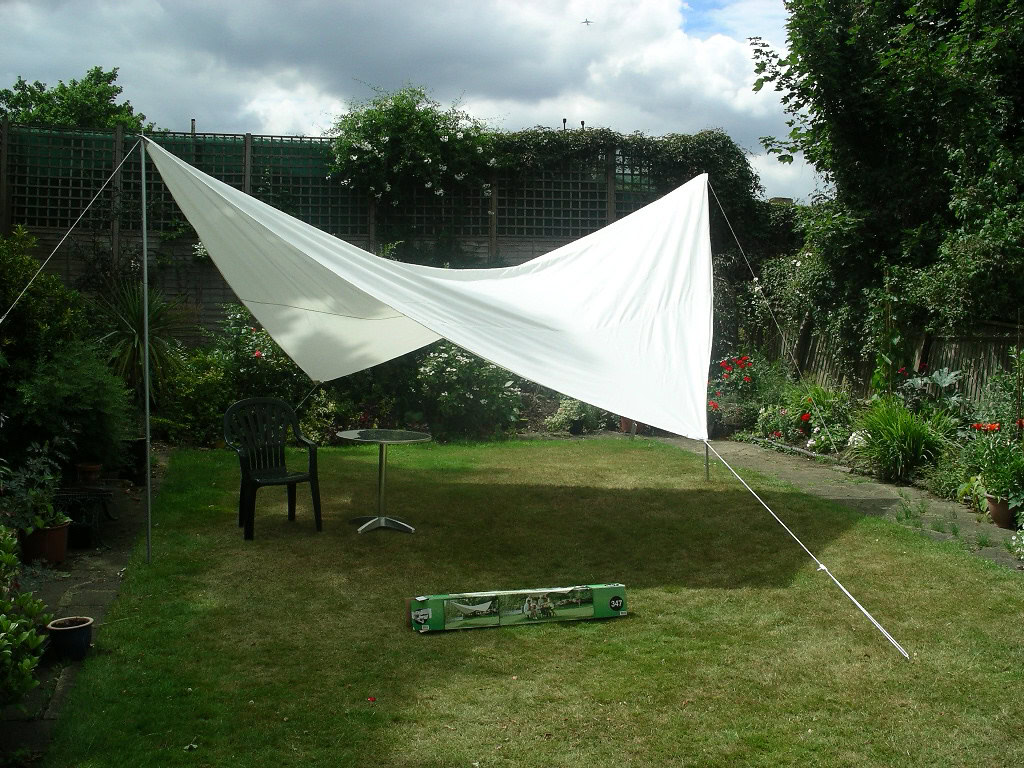
A shade sail is a versatile and stylish outdoor shading solution designed to protect from the sun’s harsh rays.
It consists of a piece of fabric, often made from high-density polyethylene (HDPE) or other durable materials, stretched tightly between anchor points to create a sail-like canopy.
Shade sails are commonly used in outdoor spaces such as patios, decks, playgrounds, and pool areas to offer shelter and create a cooler environment.
In this blog post, we will guide you through the process of installing a shade sail, step by step. Whether you are a novice or have some experience with DIY projects, we’ve got you. So, let’s dive in and learn how to install a shade sail!
Planning and Preparation
Before you jump into the installation process, it’s essential to plan and prepare adequately. Here are a few key steps to follow:
- Determine the location: Identify the area where you want to install the shade sail. Consider factors like sun exposure, existing structures, and the size and shape of the space.
- Measure and mark: Measure the dimensions of the installation area and mark the positions where you will attach the shade sail. Ensure that you have enough space and clearance for the sail to be properly tensioned.
- Check regulations: It’s important to check local regulations and obtain any necessary permits for installing a shade sail. Some areas may have specific rules regarding structures or outdoor installations.
- Gather the materials: Make a checklist of all the required materials and tools. This typically includes the shade sail, mounting brackets, ropes or cables, turnbuckles, and sturdy posts or anchor points.
Top 5 Benefits of Shade Sail Installations
Sun protection:
LOW UV EXPOSURE: Shade cells provide effective protection against harmful UV rays, reducing the risk of sunburn and long-term skin damage.
Comfortable Outdoor Spaces: The installation of shade sails creates shady areas, allowing individuals to enjoy outdoor activities in a cooler and more comfortable environment.
Beauty Enhancement:
Stylish Design Element: Shade sails contribute to the visual appeal of outdoor spaces, adding a modern and aesthetically pleasing design element.
Variety of sizes and colors: With a range of sizes, shapes, and color options, shade sails can be customized to complement the overall aesthetic of the area.
Multifaceted talent:
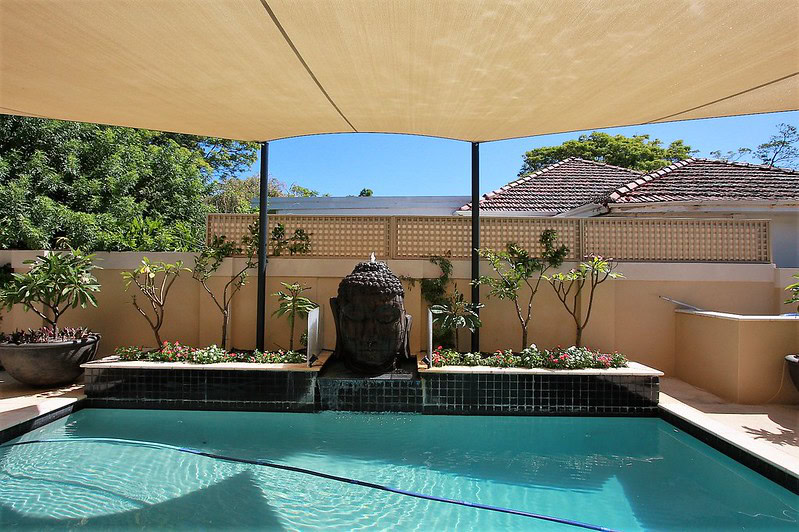
Adapt to Various Locations: Shade sails are versatile and can be installed in a variety of settings including residential patios, commercial outdoor areas, playgrounds, and poolside locations.
Adjustable Angle: The flexibility to adjust the angle of the shade sail allows for optimal shading depending on the sun’s position, providing versatile coverage throughout the day.
Weather Protection:
Protection from rain and light wind: Although not completely waterproof, shade sails can provide some protection from light rain. They also provide a barrier against light winds, creating a more secure space.
Durability in Various Conditions: High-quality materials and sturdy installation allows the shade sail to withstand various weather conditions, providing long-term protection.
Increase in external use:
Expanded living spaces: The installation of shade sails expands usable outdoor living space, allowing for more outdoor activities and gatherings.
Enhanced Property Value: Well-designed and professionally installed shade sails can increase the overall value and attractiveness of residential and commercial properties.
Installation Process
Now that you have completed the planning and preparation stage, let’s move on to the installation process. We’ll break it down into several steps to make it easier to follow.
Step 1: Install the Mounting Brackets
- Begin by attaching the mounting brackets firmly to the existing structures like walls, posts, or columns. Ensure that they are securely fixed, as they will bear the weight and tension of the shade sail.
- Use appropriate anchors and screws that are suitable for the material of the mounting surface. For example, use masonry anchors for concrete or wood screws for wooden surfaces.
| Tip: If you don’t have any existing structures to attach the shade sail to, you will need to install sturdy posts or columns as anchor points. Make sure these posts are securely fixed into the ground or concrete footings. |

Step 2: Attach the Shade Sail
- Lay out the shade sail on the ground in its desired position according to the measurements you marked earlier. Ensure that it is correctly aligned and positioned.
- Begin attaching one corner of the shade sail to a mounting bracket or anchor point. Use a sturdy rope or cable and secure it tightly. Repeat this process for the other corners.
| Tip: It’s a good idea to leave some slack initially while attaching the corners. You can adjust the tension later to achieve the best fit and appearance. |
Step 3: Adjusting the Tension
- Once you have attached all the corners, it’s time to adjust the tension of the shade sail. This step is crucial to ensure proper installation and prevent sagging or flapping.
- Use turnbuckles or tensioning systems at each corner to tighten the shade sail. These devices will allow you to increase or decrease the tension as needed.
- Gradually adjust the tension by tightening or loosening the turnbuckles until the shade sail is stretched evenly and taut. It should have a smooth, wrinkle-free appearance.
| Tip: Regularly check the tension and readjust if necessary, especially during extreme weather conditions. This will help maintain the longevity and functionality of the shade sail. |
Step 4: Finishing Touches
- Inspect the entire installation to ensure that everything is secure and properly tensioned. Double-check the mounting brackets, ropes or cables, and turnbuckles for any signs of looseness or damage.
- Trim any excess rope or cable length to achieve a clean and tidy appearance. You can use heat or cable ties to seal and secure the ends of the ropes or cables.
| Tip: Consider adding additional reinforcement or guards in areas prone to high wind speeds or heavy rain. This can help protect the shade sail from potential damage and extend its lifespan. |
Conclusion
Congratulations! You have successfully installed a shade sail and have taken the first step toward creating a comfortable and shaded outdoor space.
By following the steps outlined in this guide, you can enjoy the benefits of a shade sail while adding a touch of style to your outdoor area. Remember to regularly inspect and maintain the shade sail to ensure its longevity.
So go ahead, invite friends and family over, and bask in the cool shade provided by your newly installed shade sail!
Now that you know how to install a shade sail, it’s time to turn your outdoor space into a shady oasis. So grab your tools, measure the area, and get ready to enjoy the perfect blend of sun protection and outdoor relaxation. Happy shading!
FAQs
What is the disadvantage of a shade sail?
One disadvantage of a shade sail is that it may require periodic maintenance, especially in regions with harsh weather conditions.
Prolonged exposure to strong winds, heavy rain, or intense sunlight can lead to wear and tear over time, necessitating occasional replacements or repairs.
What is the average price of a shade sail?
The average price of a shade sail can vary based on factors such as size, material, and brand. Typically, smaller residential shade sails may cost anywhere from $50 to $500, while larger or more customized commercial-grade shade sails can range from $500 to $2,000 or more.
How do you attach a shade sail to a house fascia?
To attach a shade sail to a house fascia:
- Locate Studs: Use a stud finder to locate and mark the positions of the studs in the fascia.
- Install Eye Bolts or Wall Plates: Attach eye bolts or wall plates to the studs, ensuring they are securely fastened.
- Connect Turnbuckles or D-rings: Connect turnbuckles or D-rings on the shade sail corners to the eyeballs or wall plates.
- Tension the Sail: Use the turnbuckles to adjust the tension of the shade sail, ensuring it is tight and secure.
How do you attach a shade sail to roof tiles?
To attach a shade sail to roof tiles:
- Locate Roof Rafters: Use a stud finder or consult building plans to locate the roof rafters beneath the tiles.
- Install Eye Bolts: Screw eye bolts into the roof rafters at the desired locations for attaching the shade sail.
- Connect Turnbuckles or D-rings: Connect turnbuckles or D-rings on the shade sail corners to the installed eye bolts.
- Tension the Sail: Adjust the turnbuckles to achieve the desired tension, ensuring the shade sail is securely anchored.