

Winter can wreak havoc on outdoor faucets if they’re not properly winterized. When temperatures drop, water left inside the pipes can freeze and cause them to burst, leading to costly repairs.
While shutting off the water supply and draining the pipes is the recommended method, not all outdoor faucets have a shut-off valve. But fear not! In this blog post, we’ll discuss alternative ways to winterize your outdoor faucet without a shut-off valve, ensuring that your pipes remain intact throughout the cold winter months.
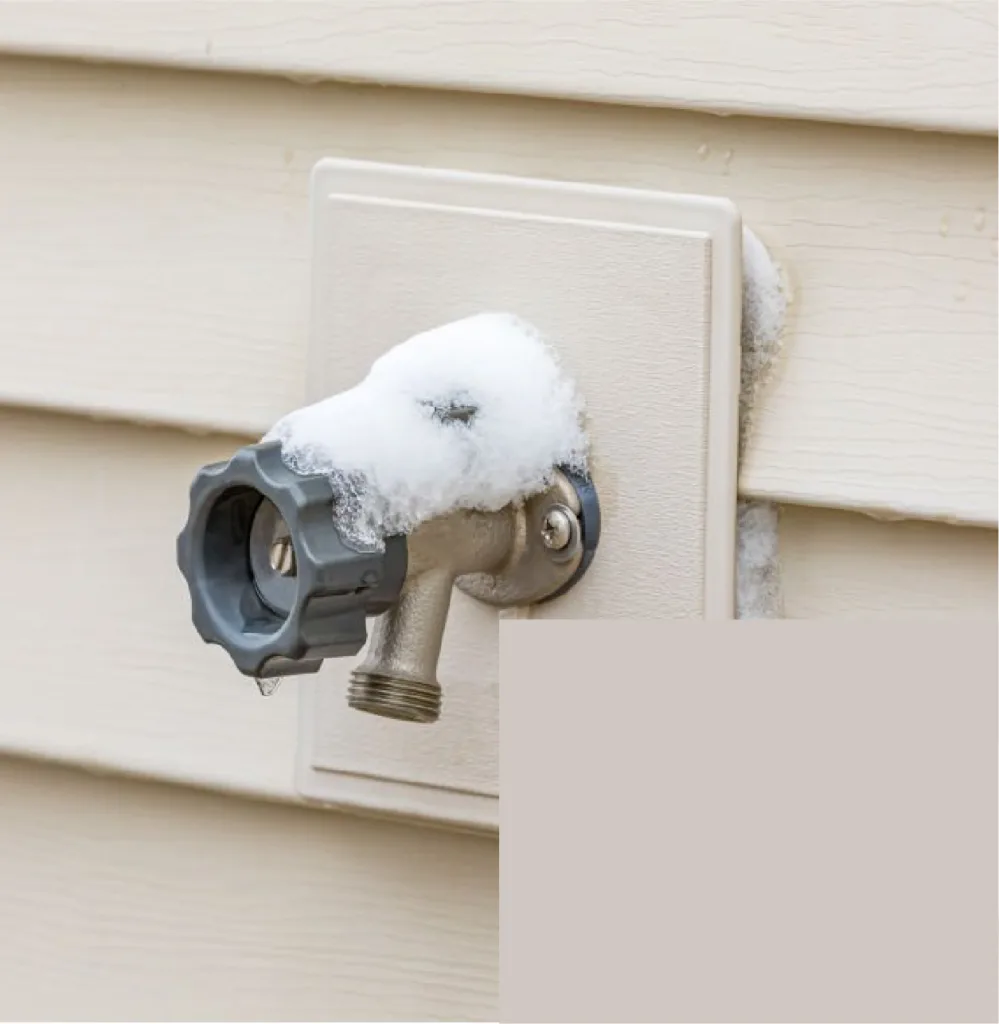
Understanding Your Outdoor Faucet
Before we dive into the winterization process, it’s important to familiarize yourself with the structure of your outdoor faucet. Most outdoor faucets consist of a handle, a spout, and a pipe that connects to your water supply.
The absence of a shut-off valve means that water continues to flow through the pipe, even when the faucet is closed. This can pose a challenge when it comes to winterizing, but don’t worry, we have you covered!
| Equipment / Tools / Material | Description |
|---|---|
| Insulating Covers | Designed to protect outdoor faucets from freezing temperatures |
| Hose Bib Covers | Attaches over spigots to prevent freezing |
| Pipe Insulation Sleeves | Protects exposed pipes and faucets from freezing |
| Teflon Tape | Seals threaded connections to prevent air and moisture ingress |
| Heat Tape | Applied to pipes prone to freezing in very cold climates |
| Adjustable Wrench | Used to remove garden hoses or fixtures from outdoor faucets |
| Garden Hose | Detached and stored in warm areas to prevent freezing |
| Drip Irrigation Draining | Ensures irrigation systems are drained from outdoor faucets |
| Plastic Bags and Zip Ties | Wrap around spigots if insulated covers are not available |
Insulation is Key
One of the most effective ways to winterize an outdoor faucet without a shut-off valve is to insulate it. By adding insulation, you create a barrier that helps shield the faucet and pipe from freezing temperatures.
There are several options for insulation, each with its own advantages.
- Foam Insulation: Foam insulation is a popular choice due to its versatility and ease of use. It comes in the form of sleeves that can be slipped over the faucet and secured in place with zip ties or tape. The foam acts as a thermal barrier, reducing heat transfer and preventing freezing. Be sure to cover the entire length of the pipe, including any exposed areas, to provide maximum protection.
- Heat Tape: Heat tape is another effective option for winterizing an outdoor faucet without a shut-off valve. This self-regulating electrical tape emits heat to keep the pipes warm. Wrap the heat tape around the pipe, starting at the faucet and working your way back toward the water supply. Be sure to follow the manufacturer’s instructions carefully when installing the heat tape to ensure safe and effective use.
- Insulating Tubing: Insulating tubing, also known as pipe sleeves, is an ideal solution for long, exposed sections of pipe. The tubing is made of foam or rubber material and can be easily cut to fit the length of the pipe. Slip the tubing over the pipe, ensuring a snug fit, and secure it with tape or zip ties. Insulating tubing provides an additional layer of protection against freezing temperatures.
Draining the Faucet
While insulation is essential for winterizing an outdoor faucet without a shut-off valve, it’s also important to eliminate any remaining water from the system. Follow these steps to properly drain the faucet:
- Turn Off the Faucet: Start by closing the faucet completely. This ensures that no more water enters the pipe during the draining process.
- Detach Any Attachments: Remove any hoses or attachments connected to the faucet. These can trap water and prevent it from fully draining.
- Open the Faucet Drain Valve: Some outdoor faucets have a small drain valve at the bottom. Open this valve to allow any trapped water to escape. If your faucet doesn’t have a drain valve, proceed to the next step.
- Use Compressed Air: Attach an air compressor to the faucet using an adapter. Set the pressure to 40 psi or lower to avoid damaging the pipes. Turn on the compressor, and slowly release bursts of air into the faucet. This will help blow out any remaining water from the pipes.
- Recheck for Water: After blowing out the pipes, recheck the faucet and drain valve for any remaining water. If you spot water, repeat the process or consider seeking assistance from a professional plumber.
How to Winterize Outdoor Spigot
- Turn off the water supply: Locate the indoor valve supplying water to the outdoor faucet and turn it off. This ensures that there is no longer any water flow to the outer spout.
- Drain the pipe: Once the water supply is shut off, turn on an outside tap to drain out any remaining water. Leave it open during the winter process.
- Detach the garden hose: Detach any attached garden hose from the spigot. Drain excess water from the hose and store it indoors to prevent freezing.
- Install insulating covers: Use insulating covers made for outdoor faucets. Place it over the spout to protect it from freezing temperatures. These covers can be found at hardware stores and help keep the spigot from freezing.
- Apply pipe insulation: Add pipe insulation sleeves to the open pipe leading to the exterior spigot. These sleeves help keep pipes from freezing by providing a protective barrier against the cold.
- Seal air leaks: Use Teflon tape to seal any leaks around threaded connections or gaps in pipes, ensuring a tight seal to prevent air or moisture from entering and causing cold.
- Consider heat tape: In extremely cold climates, heat tape can be installed over pipes. This tape warms the pipe and prevents freezing.
- Protect Drip Irrigation Drainage: If you have an irrigation system connected to an outdoor spigot, make sure it drains to prevent freezing damage.
Extra Precautions
In addition to insulation and draining, there are a few extra precautions you can take to further protect your outdoor faucet:
- Cover the Faucet: Once you have insulated and drained the faucet, cover it with a faucet cover or a thick cloth. This extra layer of protection will shield the faucet from icy winds and prevent it from freezing.
- Keep the Faucet Open: Some experts suggest leaving the outdoor faucet slightly open during freezing temperatures. This allows any remaining water to expand and escape without causing damage to the pipes. However, exercise caution when using this method, as it may not be suitable for all faucet types.
Conclusion
While shutting off the water supply and draining the pipes is the ideal method for winterizing outdoor faucets, not having a shut-off valve shouldn’t deter you from ensuring your outdoor faucet survives the winter unscathed.
By properly insulating your outdoor faucet, draining any remaining water, and taking extra precautions, you can protect your pipes from freezing and potentially costly damage.
Remember, each faucet may have different specifications, so it’s essential to adapt these techniques to your specific setup. Stay warm and worry-free this winter by following these steps to winterize your outdoor faucet without a shut-off valve.
People also ask
What is the best way to winterize outdoor faucets?
Best Winterization Method: Shut off the indoor valve supplying the outdoor faucet, drain any remaining water, and use an insulating cover or heat tape to protect the faucet.
How do I protect my outdoor faucets in the winter?
Protection Against Freezing: Disconnect hoses, drain excess water, and use insulated covers or pipe insulation sleeves to shield outdoor faucets from freezing.
How do I keep my outdoor faucet from freezing?
Preventing Freezing: Ensure faucets are drained, insulate exposed pipes, and apply covers to shield against the cold, preventing freezing during winter
How do you winterize an outdoor faucet without a shut-off valve?
Winterizing without a Shut-off Valve: If there’s no shut-off valve, drain the faucet, insulate the exposed pipe, and use heat tape or an insulated cover for protection.
how to insulate outdoor faucet?
Insulating Outdoor Faucets: Use insulated faucet covers, pipe insulation sleeves, and heat tape, and ensure all leaks are sealed to insulate against winter freezing.
DISCLAIMER: The information provided in this blog post is for informational purposes only. Always consult a professional plumber for guidance and assistance specific to your plumbing system.